Using Telnet on the DLink DSM-G600
In my last post, I explained how to get a telnet service installed on the box, but I did not really say what it really was or how to use it. In this post I will explain a little more about how it works and what it is for.
Telnet is a little like a telephone service:
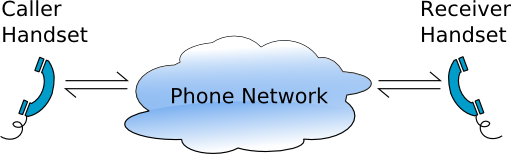
Like the telephone, it allows a caller (client) to place a call (connection) with a receiver (service). It allows a text based dialog with something at the other end.
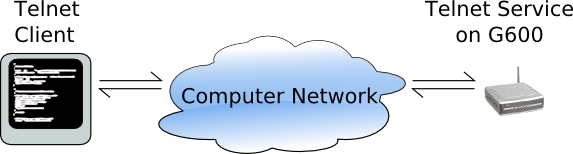
This however simply provides, like a phone line, a pipe to facilitate communication. To make it useful, it needs to have something to transmit to and from. In the case of a phone line, you have a caller and receiver:

By the way, the reason the phone line analogy works pretty well is that in computer networks, some links are likely to actually be phone lines. These worlds are actually fairly close. Replacing a caller with a computer user, and the receiver with an application the user wants to interact with at the other end gives a full picture:
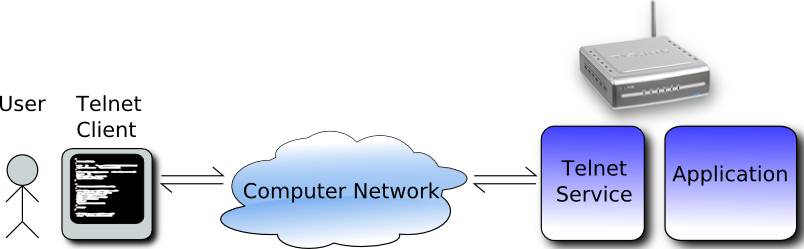
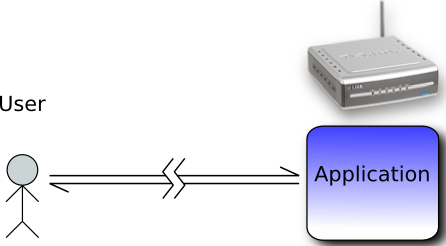
Both the application and Telnet service are likely to be running on the same remote machine, in this case the DSM-G600. It is now clear that once the protocol is understood, any authentication has taken place and the connection is established, the telnet service layer should become transparent:
Still with me?
On the DSM-G600, I placed the Busybox application which provides a collection of services. Among them is a shell - Ash. This shell is similar to an MS DOS command line and allows you to query the system and run other programs.
How to connect?
So in the last post, I set up the services. I still need a telnet client. The best (in my humble opinion) telnet client for windows is Putty. It is free and easy to set up. The link is at the end of this post.
Like a phone number, you will need the address of the G600 - mine is at 192.168.1.7. Putty also allows a choice of protocols, so at this point I ensure I pick telnet.
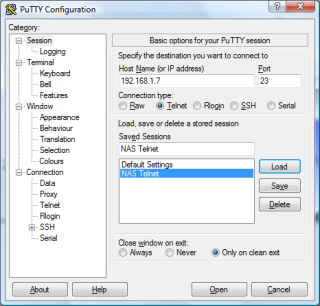
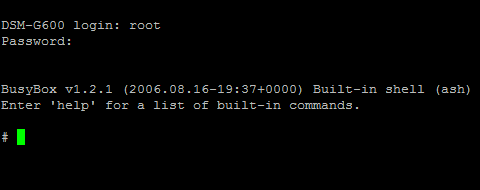
After clicking ok, if all goes well, the Telnet services will respond with a login prompt:
DSM-G600 login: _
Use “root” for the user, and the admin password you set up on the DSM-G600.
You should now be interacting with the Ash shell and it will prompt you:
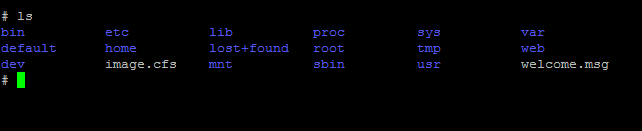
Ash, as mentioned, allows you to run programs and examine the system. To prove this works, I run the “ls” program which will list the contents of the current directory on the box. It is a little like “dir” in DOS.
Summary
So now you know what telnet is, how to get the service running on the DSM-G600, how to connect to it and how to start interacting with it via the Ash shell.