How To Fix Broken Christmas Lights The Fast Way
Broken fairy lights are frustrating and it can take hours to fix them.
This year, when about to put up the Christmas lights, I spotted that one set wouldn’t turn on and had a brainwave for fixing them. Have a look below for a poor chap faced with the ultimate Christmas light nightmare - 91,000 lights - it took him 7 hours!
What could have taken me hours took only minutes. How can this be done faster?
I cover the basics for testing/replacing a bulb, and the fast technique that can be used with a series string. There are ideas for tools to assist you, and some new lights if you would rather those.
For impatient readers
For those impatient readers - Skip to the clever bit.
Check them before putting them up

Okay - first tip - check them BEFORE putting them up. Plug them in, make sure they light. Troubleshooting your Fairy lights will be significantly harder when they’re already on the tree, especially as you will need to find midway points and so on.
It is much easier to diagnose and fix a bulb or any other problem this way. Having to trace them around a tree or window, or having to take them down after already putting them up will only add to frustration later. Try to keep them from being tangled too.
Try the Light Keeper
This tool is reported to make fixing Christmas light issues even easier and quicker by telling if current is flowing through a bulb without even having to remove it. The Light Keeper Pro is an inexpensive tool that allows broken lights to be quickly found, has slots for a few spares and can be used to fix some problems like oxidised shunts on older lights.
91,000 Bulb nightmare

Peter Parsons, a 47 year old maintenance worker in Chester, had the unfortunate job of checking an unbelievable 91,000 lights on a Christmas tree in the Cheshire Oaks shopping centre.
He spent 6 hours finding the dud bulb. I have no idea which method he used to find it, but I would like to think he did not have to check every one of those bulbs to get there.
However, I used only a few minutes with mine - or less. Granted there were only 80 bulbs, but still, I did not want to have to check all of them.
With this technique, he would have done only around 52 tests to troubleshoot his lights.
Six hours to find the dud Christmas light : Metro.co.uk
A cheaper tool to aid in repairing Christmas lights
As always, Draper deliver a tool at a good price for assisting with bulb repair and replacement. It does not have the same features as the Light Keeper, but will help out and is cheaper than a new set of lights.
ASIN=B003EEM9HG
Should you buy new lights?
Before going too far on this - you should consider if it’s worth repairing them. Depending on the age of the lights, a new bulb for them may cost more than the equivalent modern string of LED bulbs.
Lights can last for many years as long as you replace the bulbs and check the fuses, however, old lights wont be energy efficient and maybe making your Christmas more expensive than it need be. Modern LED based lights rarely need changing or fixing.
So do you go for modern lights - and saving electricity, or for fixing the old lights and saving landfill/waste?
Prepare a Soft area to lay out your Fairy Lights

When you are checking them, you will probably want to lay them out.
Bulbs are fragile. If like me you have a hard wooden or concrete floor, bulbs can and will be broken if put on it.
So while checking them, put something slightly soft under it - like an old sheet. This will prevent you breaking any more bulbs, which would leave to having glass on the floor, the first of which will slow you down, and the latter is quite dangerous.
Important for your safety
Not so fast! It is imperative that you unplug them before doing any further checks. It is far too easy to get electrocuted while poking around a string of Christmas lights with a dud bulb - so for your own safety, please turn off and unplug the set completely before progressing. It is just not worth risking your life for.Warning - Do Not Improvise Replacements!
Bulbs and fuses must only be replaced with items that are both electrically and mechanically compatible. As mentioned above - retain the bulb holder cups for mechanical soundness. For the bulbs and fuses - ensure they have the same voltage, power and current ratings as those being replaced. Using an incorrect bulb or fuse may result in shock or fire hazard, or may simply blow immediately.Please wear safe Footwear!
Another thing is to have footwear - although the soft area should ensure none break, you cannot yet be sure that there's not a broken bulb already. Wear some footwear to ensure that if there are tiny slivers of glass from them, they don't embed themselves in your foot! Whatever you do, keep your Christmas a safe one!Step 1 - Look for obviously missing bulbs
If one is gone or broken- first look for a visibly missing bulb - this may seem like an obvious tip, but if you didn’t you will kick yourself when you get to it.
If there are a lot of bulbs, this may be as hard to find as a blown bulb, so you can skip this step - but do take a glance for any obviously missing ones. Keeping eyes open is always a good step for solving problems.
Info - Most Christmas Lights are in Series circuits
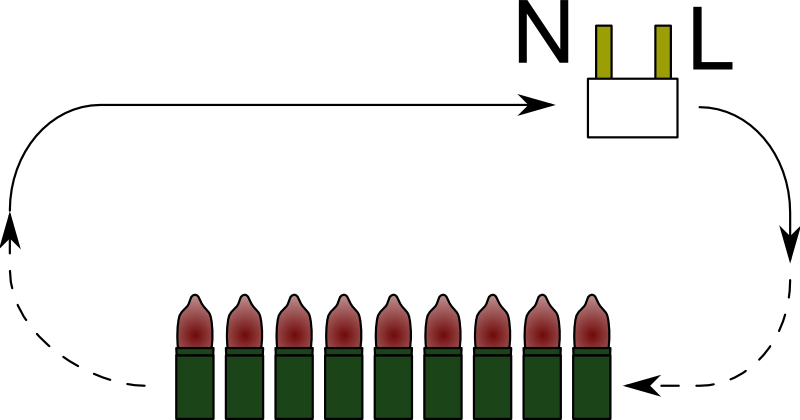
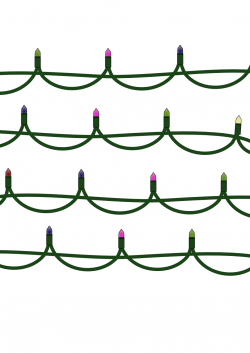
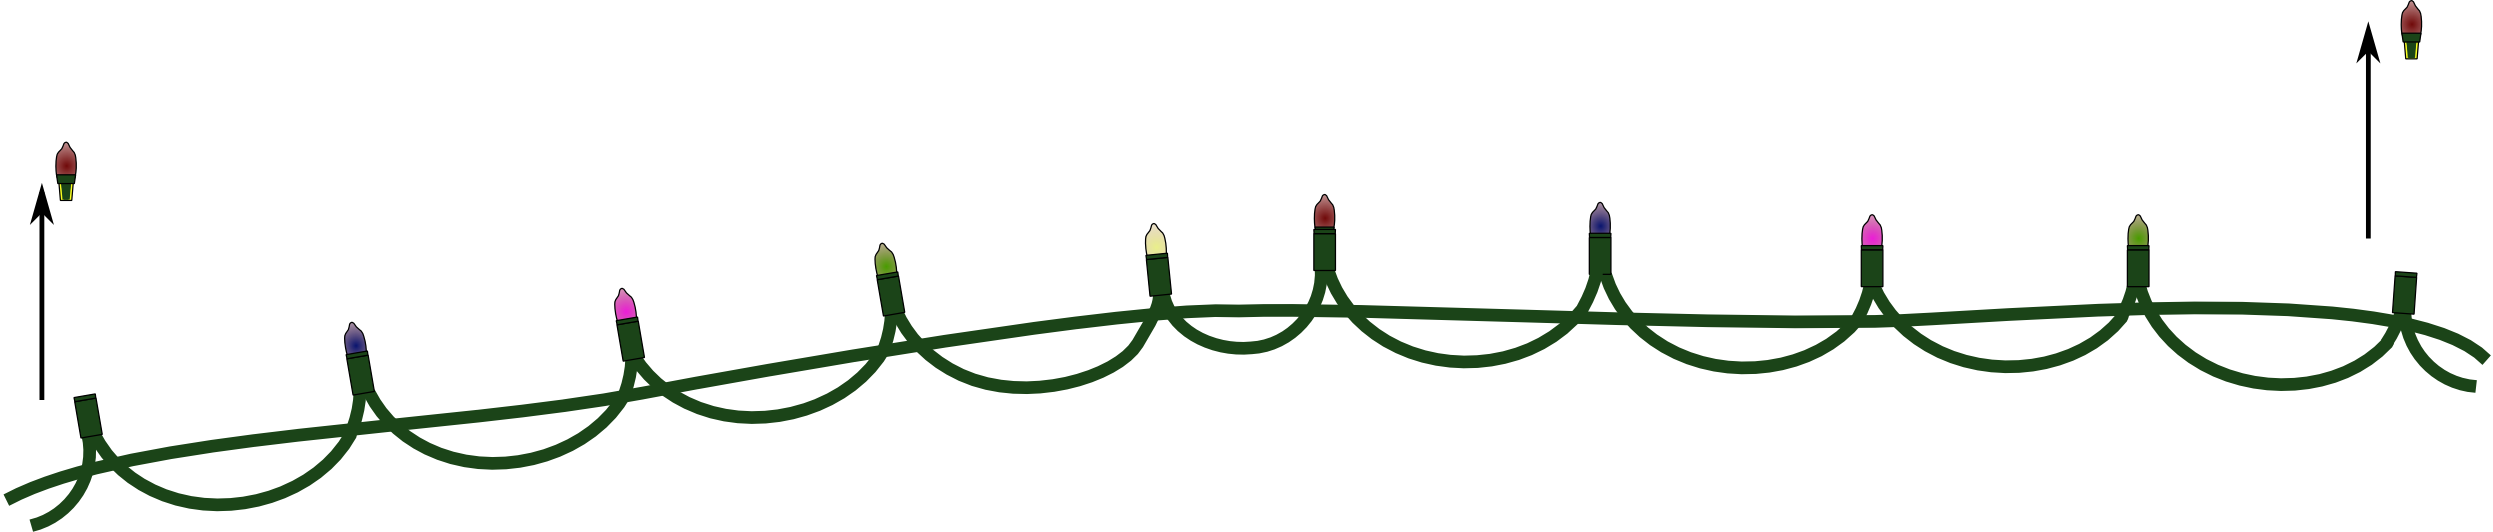
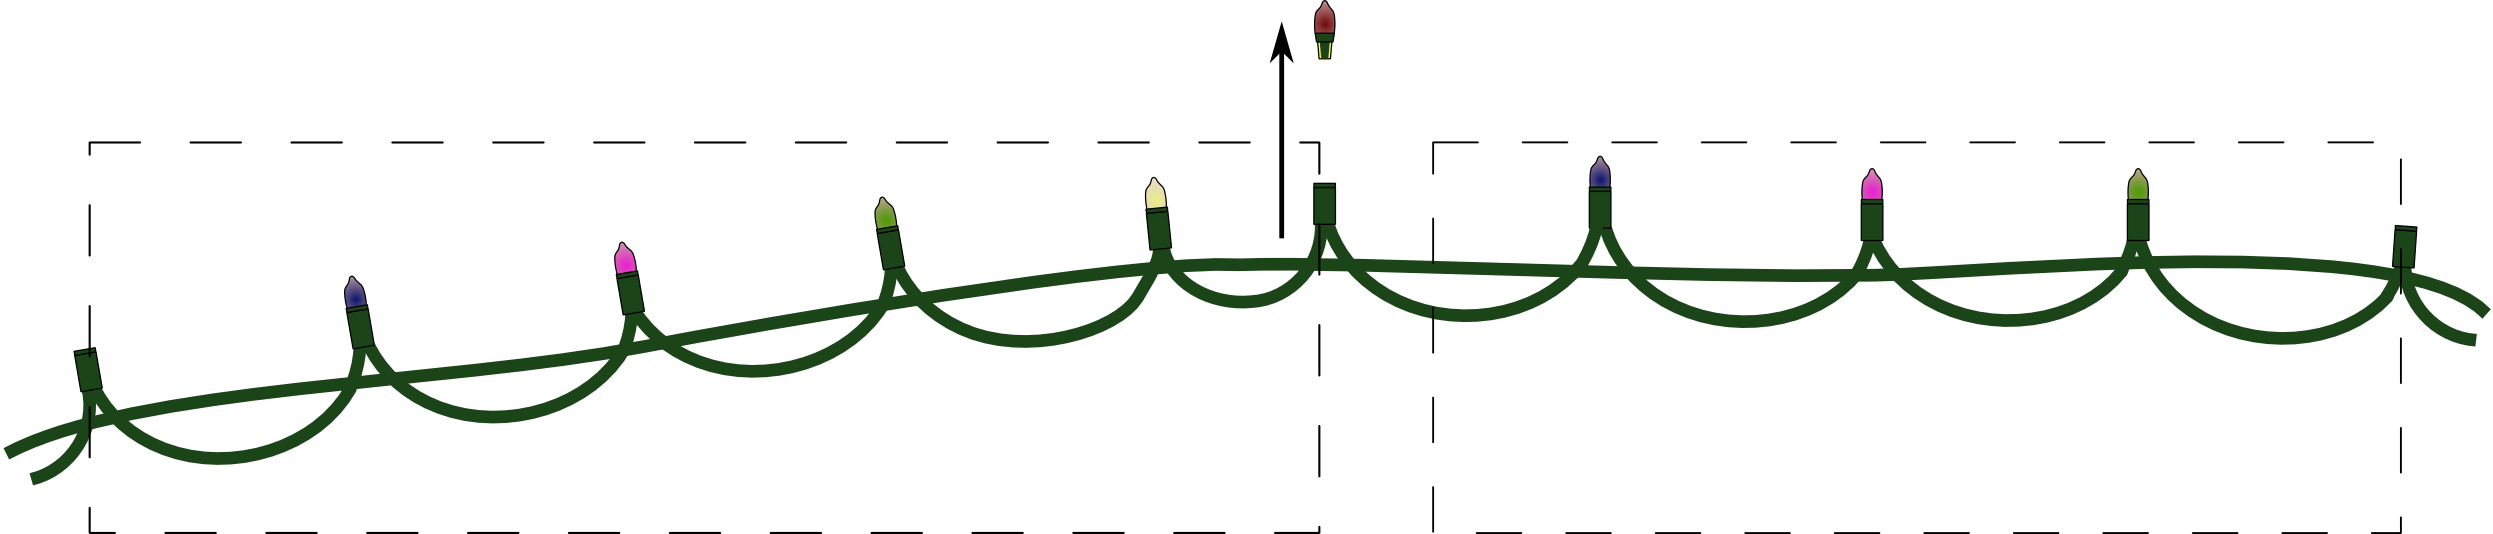
The reason that one blown, missing or otherwise broken bulb can take out the whole string of lights is down to the way they’re wired. Older Christmas lights are often wired in series - so they complete a circuit. Electricity needs a source, called “Live” when talking mains, and a destination, called “Neutral” in mains. In mains (AC) positive and negative are not used, as the actual potential of live alternates during usage.
If you look at the lights carefully, you will see that one line goes straight through to the last bulb, and although it is intertwined with the cable going in and out of each bulb, it doesn’t. The other line connects into each bulb, and comes out the other end. So if a bulb is missing, the electricity cannot complete the circuit. This is why they all do not light.
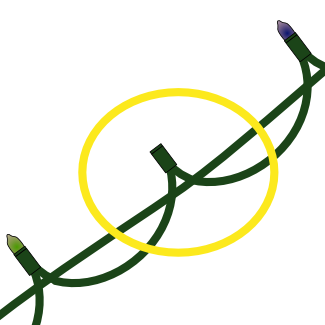
A closer look at the light circuit
If you look at the lights carefully, you will see that one line goes straight through to the last bulb, and although it is intertwined with the cable going in and out of each bulb, it does not. The other line connects into each bulb, and comes out the other end. So if a bulb is missing, the electricity cannot complete the circuit. This is why they all do not light.
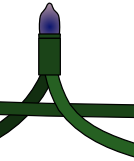
Probing a socket

Now identify which cables are which. At each bulb socket there will be 3 cables - one which just passed it by but twined close and two which enter the socket. To probe stretches of cable with lights, you will want to choose the correct contact in a socket at each end of the section being tested. If the section is ok, your continuity tool will show a connection and beep/light up or similar.
Recommended Tool: Circuit Tester
To use the methods below, you are going to need some kind of circuit tester - this is not an expensive or hard to find piece of kit, don’t worry.
If you have a multi-meter or continuity tester, either will come in handy here. If you have a battery, resistor, and LED or buzzer, you can makeshift your own.
Using a continuity tester
The continuity tester is the easiest of these. It will simply be two probes (one for each end of the area under test), a battery, and an indicator of some kind - either a light or a buzzer (sometimes both).
To use one, you just need to turn it on, and then touch the probes to the contacts at either end of an area under test. The indicator should turn on to show there’s continuity - no breaks - in the area under test. To ensure your continuity tester works - touch the probes together and it should indicate a complete circuit.
How to probe the bulbs
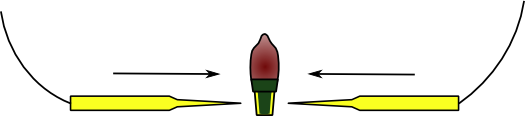
As the diagram shows, each bulb has two contacts. Connect the probes to each contact as shown above. If the bulb is okay, then continuity will be shown.
Note - this only works on incandescent lamps. LED lamps must be probed only in the right polarity.
Using A multimeter to check christmas lights
These are somewhat harder to use than a continuity sensor, but handy if you already have one, and often a little cheaper.
Your multimeter may already come with a continuity check setting. Otherwise, I tend to find the resistance check at 2k is just fine.
Again, you touch the probes to the area under test and then observe the result.
If using the continuity check, there’s often a light and beeper. Also a digital display will flip from 0 to 1.
If you are using the resistance, then it will show “1” for a broken (in electrical terms this is open) circuit and 0 or a number close to zero for a working (closed) one.
Step 2 Checking the fuse
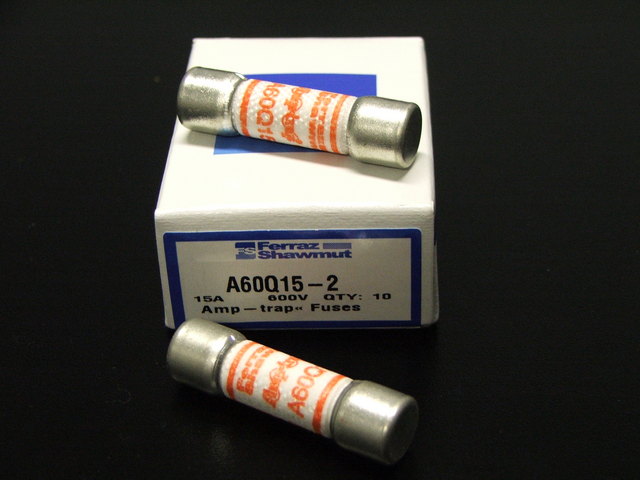
Before checking any bulbs, get the fuse from the plug and test this - it may seem obvious, but people do miss this.
Test it with your multimeter/continuity tester and ensure it is closed.
Step 3 How to quickly get to the bulb that is wrong
Start with the first and last bulbs
Remove the first bulb in the chain and test it. See the above section for details. If it is okay, then it should show a closed circuit with the tester.
Remove the last bulb also - and test this. If it was either of those two - you are on a winner.
Keep the Bulb Holders!
Christmas lights bulbs themselves are actually only of a few limited varieties, but the holders have more variety. When you remove a broken bulb, try to take off the holder - they often have the little contact wires wrapped around these and can be pulled off. Then when you find a compatible sized and rated bulb to replace it, you can use this holder to safely insert it back into the string.
Basic Idea
You will test, and subdivide, narrowing rapidly the search for the duff bulb or break in the wire by half with nearly every test.
Step 4 - Probing start and end sockets
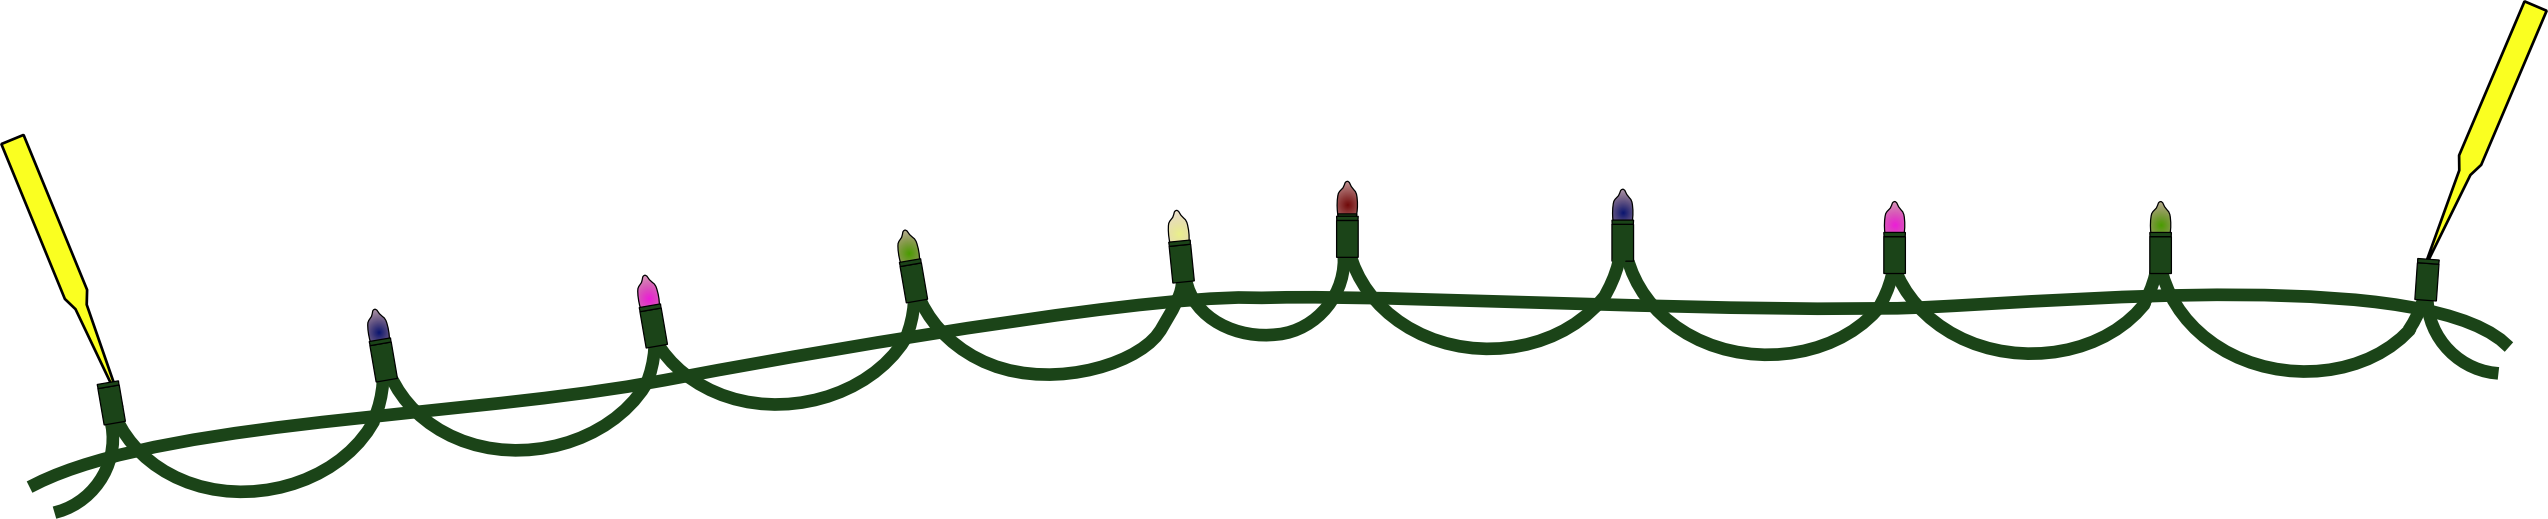
Looking at the first socket, one of the two contact cables will go to the plug, and the other to the next socket. You should put the first probe at the contact for the cable going to the next socket.
At the socket for last bulb, there should be two cables present - one going to the previous bulb socket, and one going back to the mains plug (which bypassed the other bulb sockets). Place the second probe on the contact that goes to the previous bulb. You will likely see no continuity here - so the dead bulb is clearly between the first and last.
Step 5 - Divide and Conquer
Working inward one by one would be really time consuming, so here I introduce the divide and conquer method. Find the bulb roughly in the middle of the set, and remove it from the socket. Test this bulb to make sure it is not the one. If this bulb is okay, you may have the one, otherwise continue.
Laying out the bulbs as mentioned above, you should be able to tell which contact for this socket goes towards the first socket, and which goes towards the last. Probing towards the first bulb socket, and the first bulb socket towards this bulb, you are now able to tell if the problem is in the first half. You can then switch to checking the contact that goes towards the last socket and the last socket itself, which tells you if there is a problem with the last half of the bulbs.
Interpreting the results
There are 2 outcomes here: A) One half is broken, and the other ok. In which case - you have just halved the number of bulbs you need to check - woohoo! B) Both halves are broken. You will have to apply this process again to each half.
Once you have divided it, you can repeat this process. Find the bulb halfway along the broken section, remove it, test this bulb, then test either side of the section with it. Repeat this until you find the broken bulb. By halving your work area each time, you will quickly reduce the possibilities.
Case study
240 lights The slow way would have you checking 240 bulbs, and a fuse. That is 241 tests.
Fast way: Fuse check - Pass Check first and last bulbs - Pass Test across all bulbs - Fail Check middle bulb - Pass (This is 5 tests now) Check middle to first - Pass Check middle to last - Fail
In this case we now know that it is between the middle and end. We now have done 7 tests, and have only 120 or so bulbs to check - halving our work.
check the middle bulb in the last section - pass Check section start to middle - pass check section middle to end - fail
3 more tests, and we are down to 60 bulbs - see how we divided this? A total of 10 tests and we have counted out 180 bulbs as working.
Repeat this for the middle to end - 3 more tests - total 13, 30 more bulbs discarded.
If there is only one bulb, then the worst case will be around 25 tests. There is a reasonable chance you will find it as one of the middle bulbs first too. This is much faster than 240 tests.
How does this method scale?
Once you have tested the first few, each subdivision adds 3 tests. So if the starting number is doubled, you would (again if only one bulb is gone) do 3 more tests to find it.
This means that for 480 bulbs, you do 28 tests, for 960, 31 tests and so on.
If, like the poor chap in the news, you have 91000, you would do only around 52 tests - whew - a huge saving over 90,900 tests. Of course - finding that middle bulb there may still be a trial with that many!
What if two or more bulbs are gone?
If this is the case, you are likely to have to check more bulbs. You will have to test each failed section, subdividing as you go. The worst real case is that every bulb fails - unlikely as it may seem, not impossible. Here - you would then have done around the 240 tests.
Depending on the cost of the string, when you get past 10 or so bulbs failed in one time, it may be a much better economy to buy a new string.
Image sources
Title image, series circuit, bulb closeup and missing bulb images were drawn by me with Inkscape.
Christmas Lights on floor photo from FreeDigitalPhotos.net.
Giant Christmas tree, sheet and fuse photos from http://morguefile.com.